Make Your Own Spa-Worthy Face Masks At Home

The best remedy for unwinding after a hard day? A night of self-care, of course. Before you go and book a spa appointment, look a little closer to home this time! Many of us have all the ingredients we need right in our pantry and fridge to create a perfectly customized formulation that will target all the issues you want addressed.
Read along for all-natural recipes to try the next time you need a little R&R:
For Hydration
Ingredients:
- 1/2 Avocado
- 1 tablespoon of honey
- A handful of oats or oat bran
It may sound like the perfect breakfast, but this time lather it onto your face for the perfect amount of hydration. Honey is an amazing ingredient that helps your skin retain moisture without leaving it oily, and it can also help with the appearance of scars by increasing healing and tissue regeneration.
Oats are an ingredient that many big beauty brands (Aveeno, Neutrogena) incorporate into their formulas because they're great at nourishing, calming, and soothing skin. To counteract any roughness on your skin, the oils from the avocado will leave your skin silky smooth! Just mix all together and leave on for 15 minutes before rinsing off with warm water.
For Balancing Dry Skin
Ingredients:
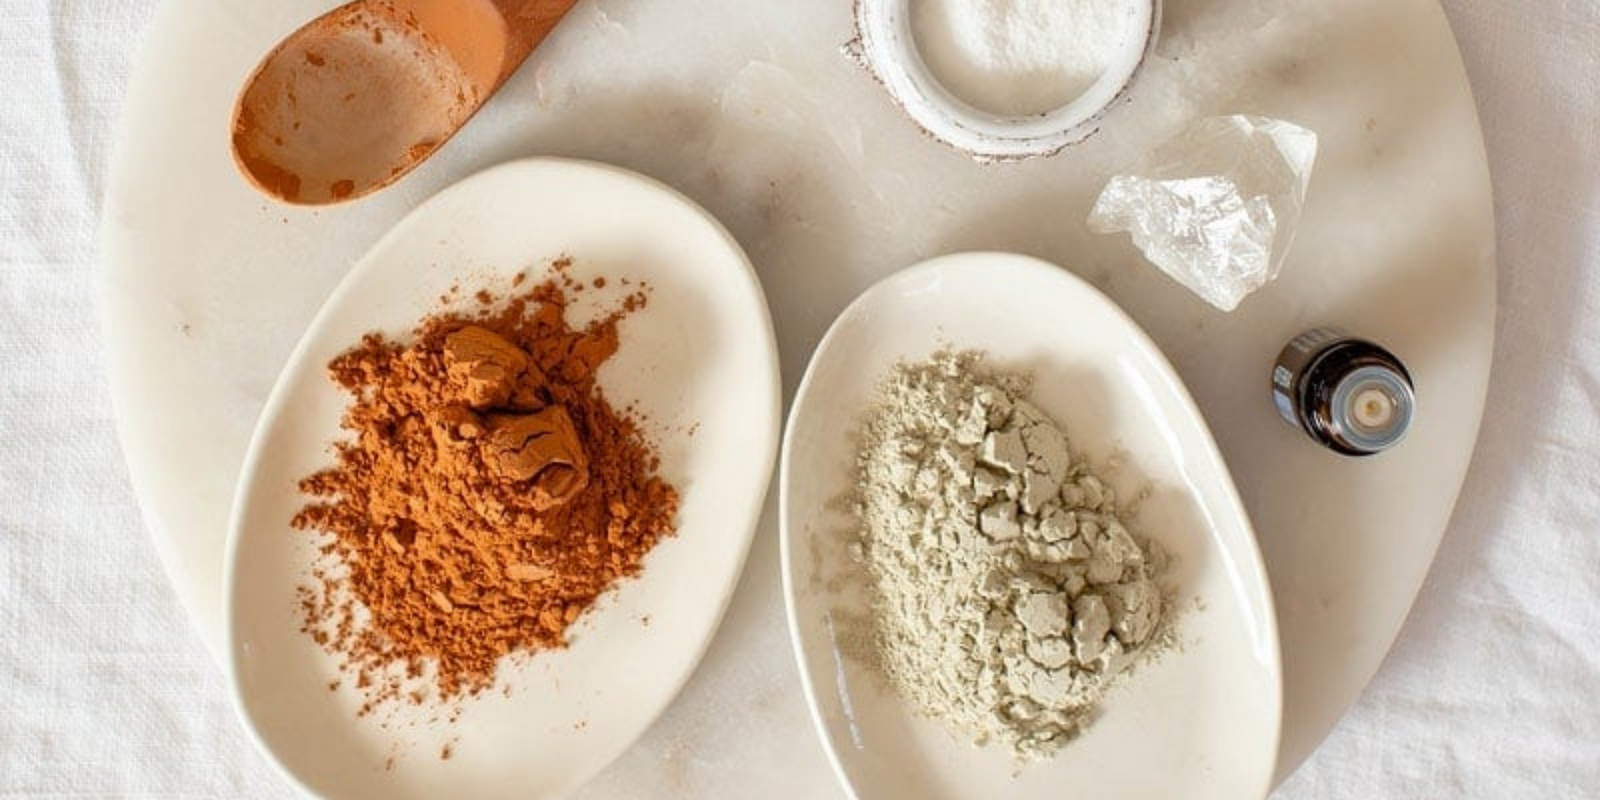
- 6 tsp clay
- 2 tsp aloe vera juice
- 1 tsp natural raw honey
- A splash of natural spring water
The right foods will help you balance dry skin, and this refreshing mask will target your issues from within. You can even add a few drops of lavender essential oils into the mask for an extra dose of relaxation. Mix it all together, massage the paste onto your face, and leave on for 20 minutes before rinsing off with warm water.
For Hyper Pigmentation
Ingredients:
- 1 tbsp of fresh turmeric/ turmeric powder (juiced or pressed)
- 1 tbsp of fresh lemon juice
- Add water to make to paste
- 1 tbsp of honey or 1/2 a beaten avocado if you've used juiced turmeric
If you have problem areas that need some extra love, mix up these ingredients and use it as a spot treatments. Turmeric has been shown to reduce skin irritation, redness, and wrinkles, while honey and avocado have natural properties that soothe your skin to leave it fresh and glowing. Leave it on for 3 minutes and repeat twice a week for the best results!
For Uneven Skin Texture & Tone
Ingredients:
- 1 tablespoon of natural, plain yogurt
- 1 tablespoon of honey
- 1 tablespoon of turmeric powder
Sometimes (if not most times), less is more when it comes to your skin. This simple mask will leave your skin ultra smooth with all of its amazing properties. Yogurt contains lactic acid that lifts away rough, dead skin cells, while honey will keep your skin feeling soft and elastic. Lastly, the turmeric will target any pigmentation and redness to leave your skin looking glowy and smooth.
For Acne and Blemishes
Ingredients:
- 1 tablespoon of Manuka honey
- 1 teaspoon of turmeric powder
- 1/2 teaspoon of Dead Sea salt
When you feel like you've tried just about everything to combat your acne, sometimes you have to take a step back and go the natural route. Turmeric is fantastic at bringing down redness by being anti-inflammatory and anti-bacterial. The Dead Sea salt will help clean out everything out, while the Manuka honey has healing properties that will give you that fresh post-spa look. Just apply it all over your face and leave on for 15 minutes before rinsing off with warm water.
Things to Remember
Before you go raiding your pantry, here are a few safety tips to remember:
1. Making your own face masks is perfectly safe, but you'll want to avoid putting certain ingredients directly onto your face without mixing them first. For instance, you shouldn't put lemon juice or apple cider vinegar directly onto your face as they are extremely acidic and will cause irritation.
2. If you wouldn't eat it, don't put it on your face. DIY face masks aren't an excuse to use up all your old ingredients instead of throwing them out! Check the expiration dates on all your ingredients before mixing them into your new face mask to avoid more irritation than you started with.
3. It's a good idea to patch test first so you don't end up with an allergic reaction all over your face...test it out on a small area on your neck to see if your skin reacts well to it.
4. DIY masks are meant to be used the same day you made them. Because they are 100% fresh and don't have any chemicals in them, letting it sit out exposed to air and bacteria can easily irritate the skin.
Let us know which face mask you tried and if we should add any to our list!


Leave a comment